Install macOS Mojave VM with Parallels Desktop
Apple removed 32-bit support with the release of Catalina. This means you can’t play old 32 bit games from your steam library any more. Here we will attempt to rectify this by running Mojave, the last macOS release with 32-bit support, in a VM.
In this post, we will walk through the steps to install macOS Mojave in a VM, using parallels desktop for mac. Before we start, as of January 2021, this will not work on macs with the new Apple M1 hardware. According to their blog Parallels is working on making this work.
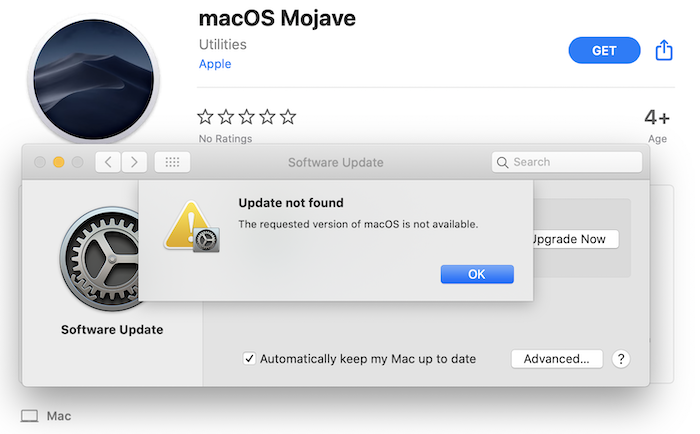
With your favorite search engine, you will find several older blog posts about solving this problem, but they all depend on being able to download Mojave from the app store, where it is now no longer available.

The images are still available from the Apple website, they’re just not advertising it. There is a handy tool available on github called gibMacOs, which will help you pull the images you want from the Apple software update site, and turn them into installable packages.
Clone the project and run gibMacOS.command. You should see a menu with a bit over a dozen
macOS images available and supported by gibMacOs. Choose macOS Mojave 10.14.6 and it will start
downloading the roughly 6.5 Gb image and supporting files. The files will be saved in a
directory called macOS\ Downloads/publicrelease/[name of the image].
When it is done downloading, run the BuildMacOSinstallapp.command. It will ask for the full path of
the downloaded folder, with spaces escaped, something like
/Users/rik/projects/gibMacOS/macOS\ Downloads/publicrelease/061-26589\ -\ 10.14.6\ macOS\ Mojave .
You can type it in yourself, or drag & drop the folder into the terminal window to achieve the same.
This will create the Install macOS Mojave.app folder that we can install in a virtual machine.
To orchestrate the VMs we will use Parallels Desktop for Mac. I don’t know if this is the best choice performance-wise, but it allows incredibly smooth integration between the host desktop and the guest desktop, especially in the case of a Windows guest on a macOS host. You can copy & paste or drag & drop between host and guest, there is support for hardware acceleration in the guest desktop, etc. You can hide the guest desktop altogether, and make applications running on the guest OS appear on the host desktop and so on. It’s not free, but if you’re using this tutorial, you have an expensive laptop, so that shouldn’t be a concern. Try the Free Trial first, because what you are trying to achieve with this Mojave VM might not work.
Start parallels desktop and select create new, and select the option Install Windows or other OS from
a DVD or image file. If the Find Automatically mode doesn’t find the Install macOS Mojave.app folder
we created earlier, click Choose Manually. You can either drag & drop the Install macOS Mojave.app
folder there, or click Select a file and then browse. In that case, select All files (*) in the
installation file types dropdown and select Install macOS Mojave. Click continue to begin the
installation. Select a name for the VM and click create. You should see the macOS boot sequence starting.
After selecting a language, the macOS Utilities window should pop up. Select Install macOS, continue.
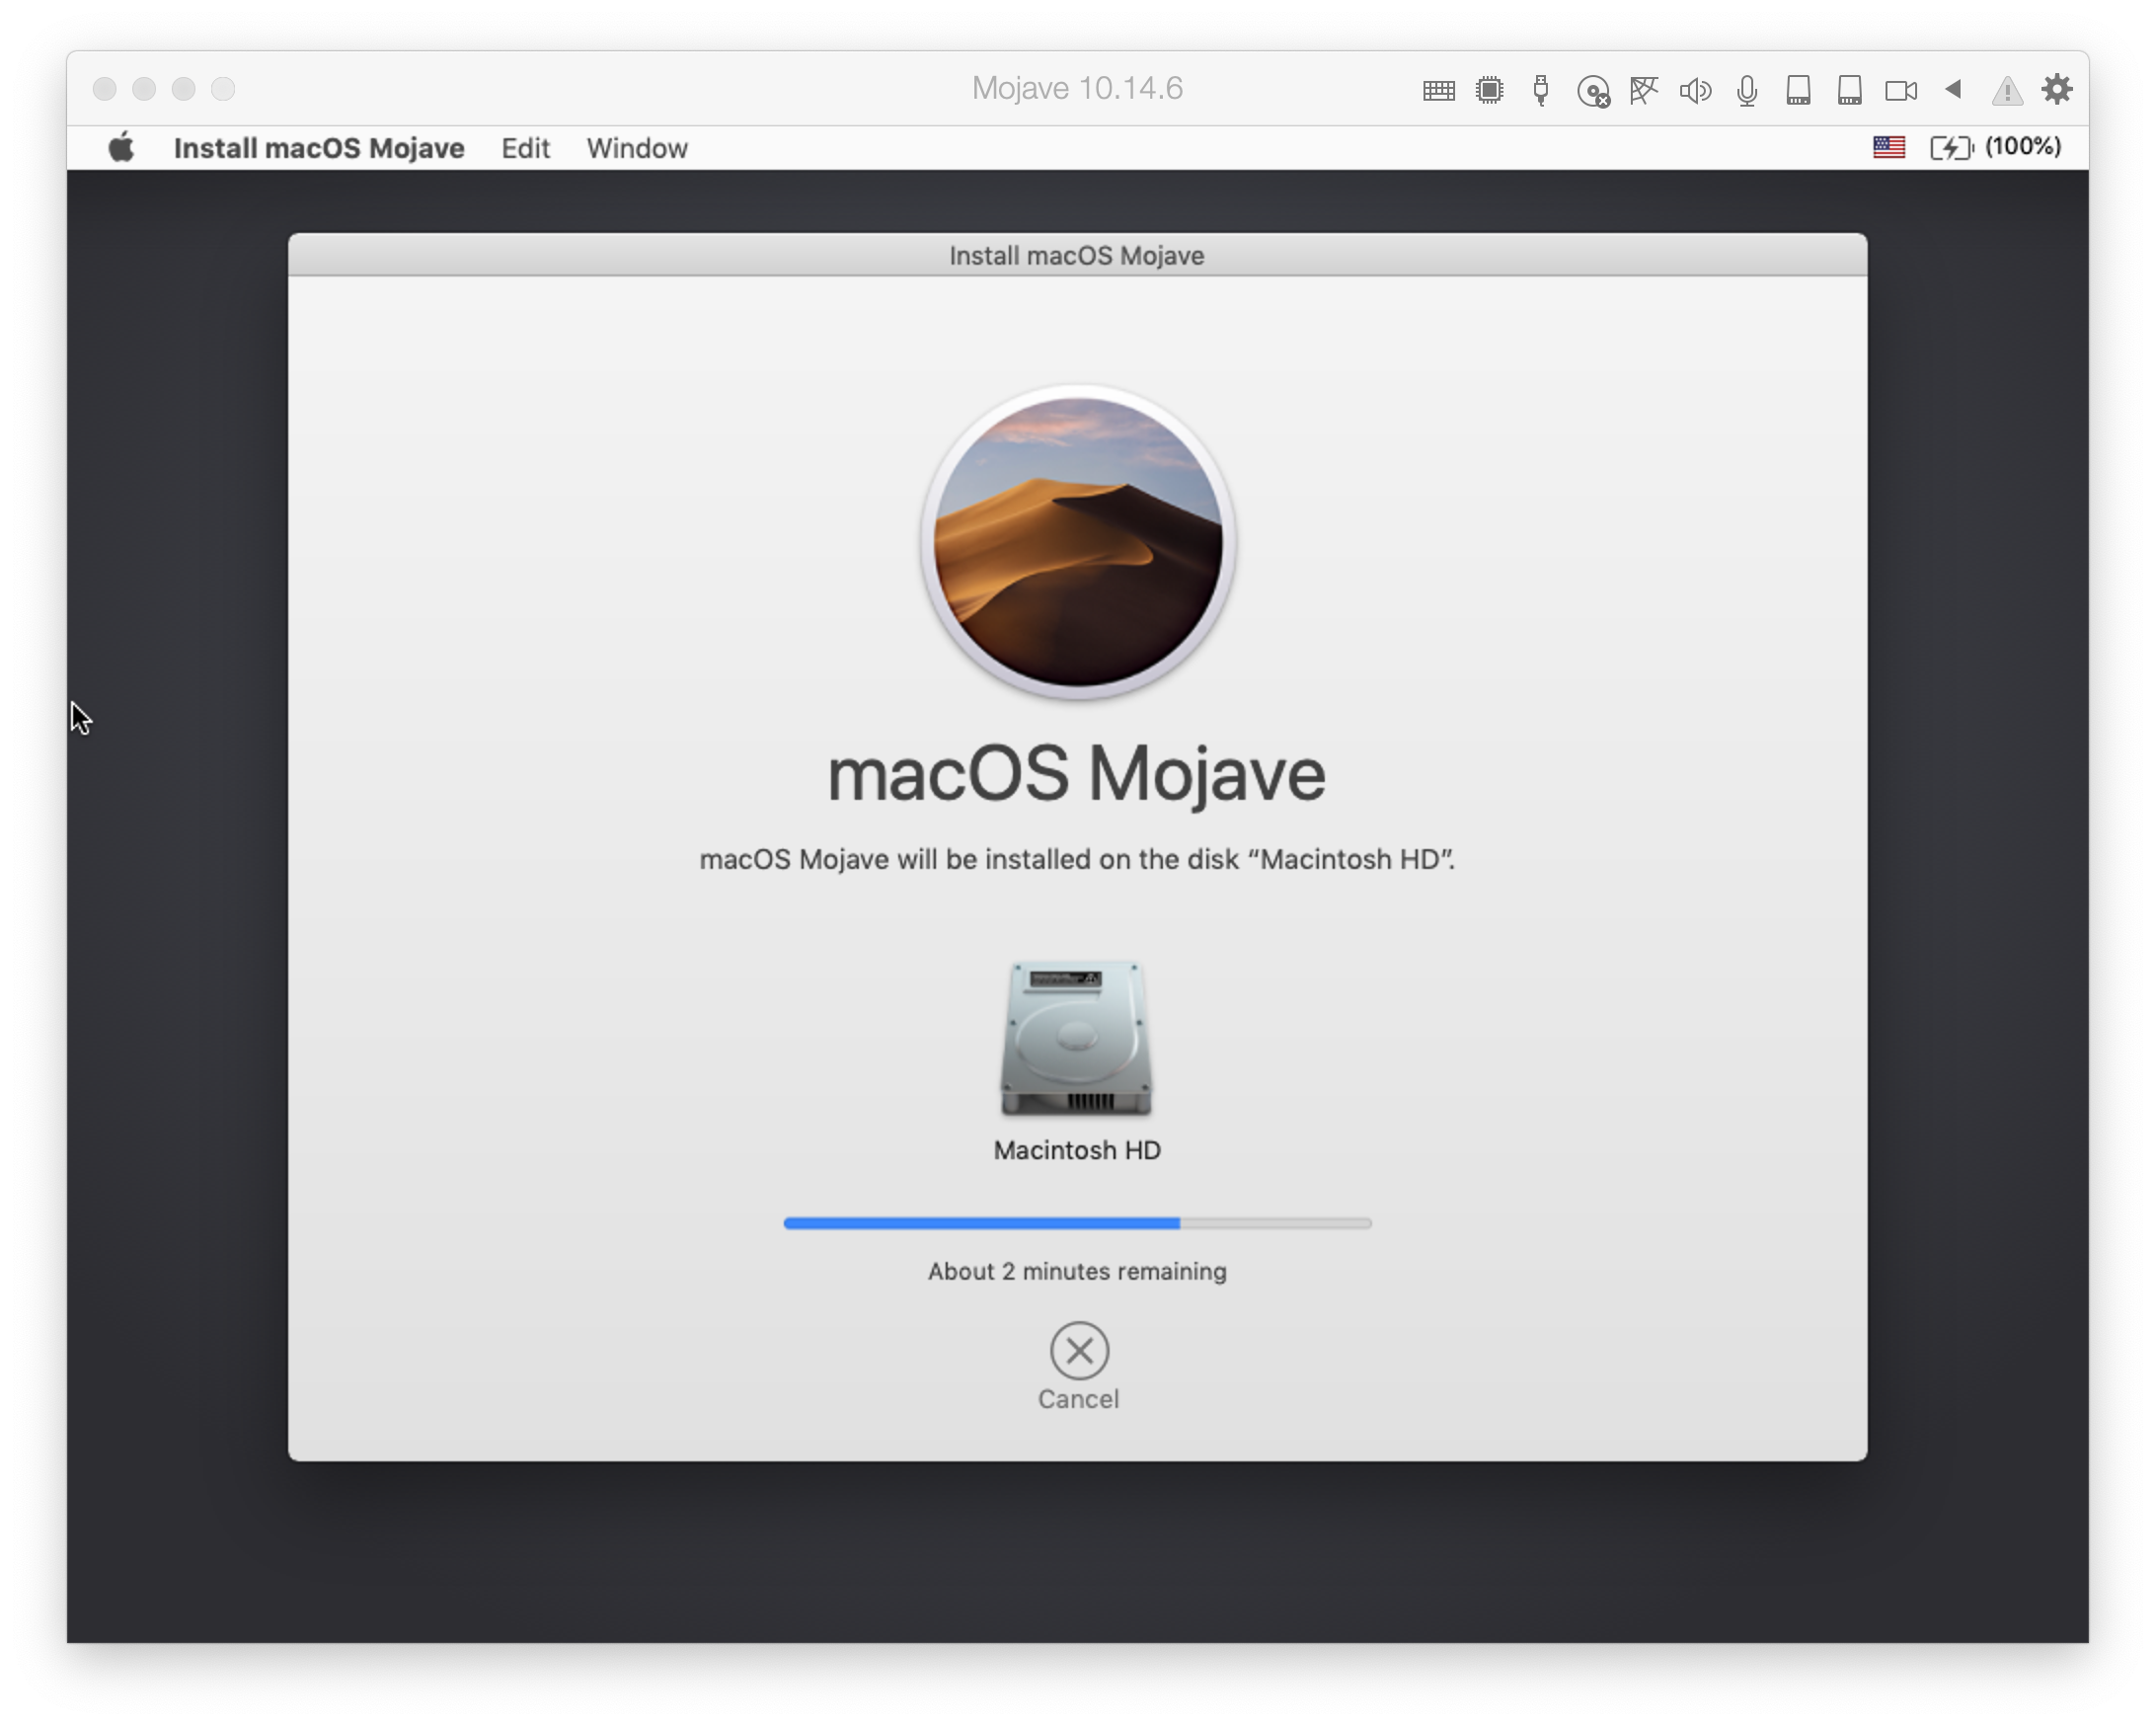
Agree to the licence terms, and start the installation. Choose the Macintosh HD drive. This whole process
is estimated to take about 2 minutes, which will take about 15 minutes.

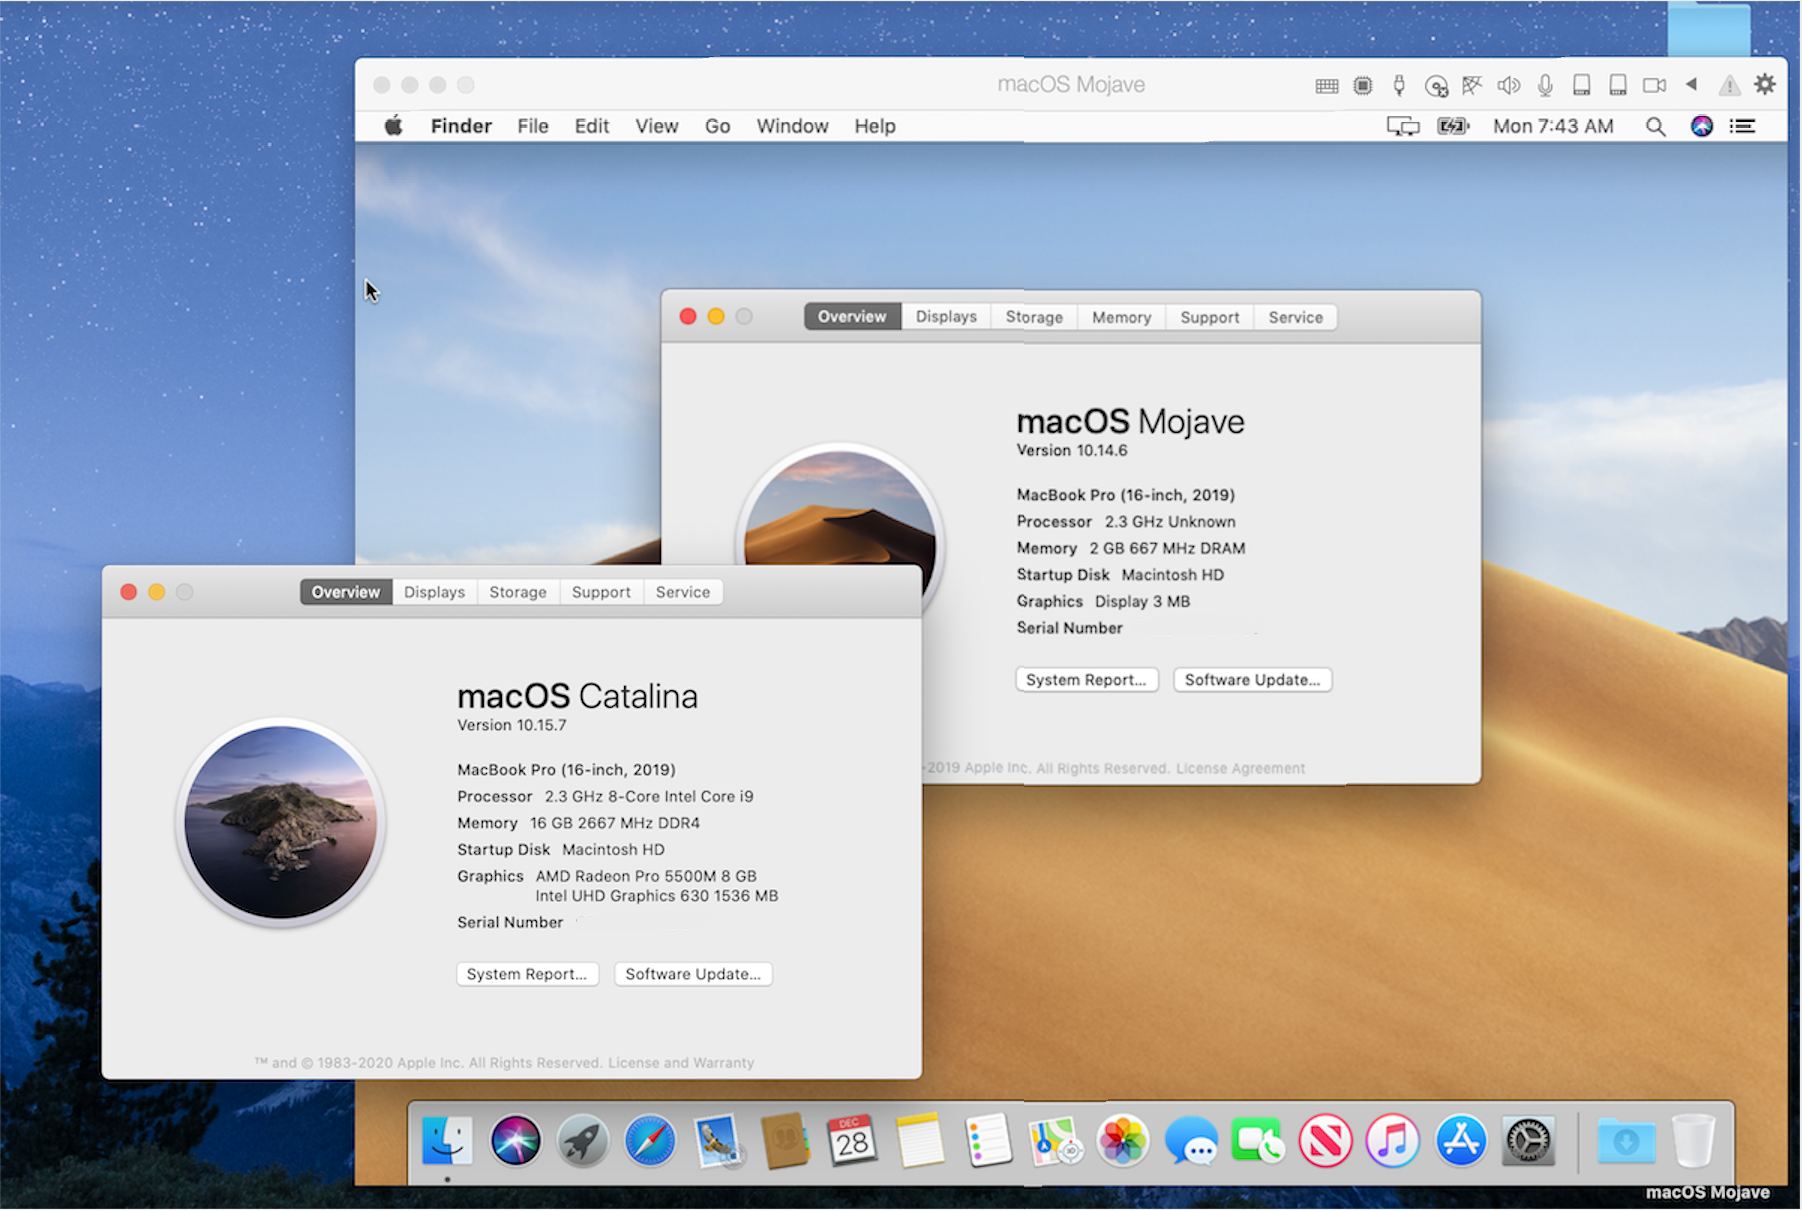
After the installation process, you can sign in with your apple ID. You’ll get a warning that your apple ID is being used to sign into a new device. Enter the PIN code, accept the terms and conditions, and we have macOS Mojave running inside a macOS Catalina host:

So now we should be able to run 32 bit applications again.

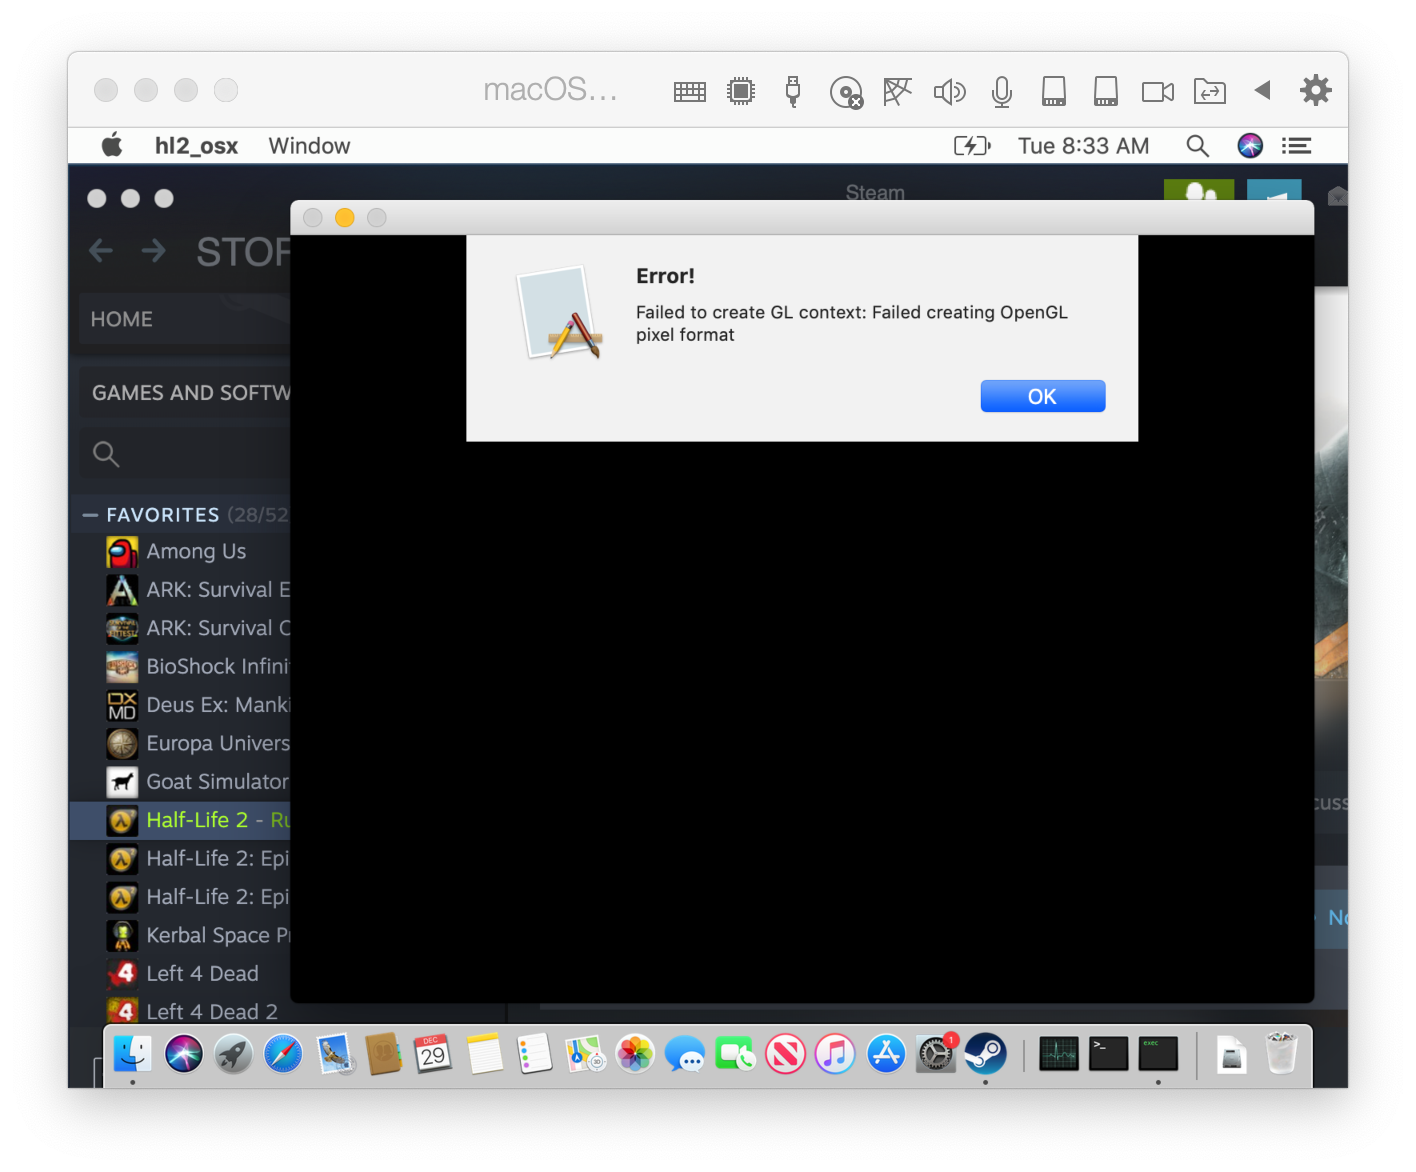
Well, the 32 bit applications will now install, but there is a problem: Error! Failed to create GL context:
Failed creating OpenGL pixel format. The Parallels knowledge base provides the answer: Parallels Desktop does
not support 2D or 3D acceleration in OS X/macOS guest operating systems
(installed inside the virtual machine) because Apple does not provide an API for creating a video driver with
2D/3D acceleration support.
In order to run the older steam games, we will have to use bootcamp, or run Windows 10 in a parallels VM.